How to Style a Bookshelf: A Simple Step-by-Step Method
A seven-step order for styling any bookcase: empty it, sort, put the books back first, add objects from largest to smallest, then step back and edit.
At a glance
- Difficulty
- Easy
- Time
- About 1 to 2 hours for a tall bookcase
- Best for
- A full or freshly emptied bookcase that needs a fresh start
- Shelf type
- Freestanding bookcases and built-ins
What you need
- Your books
- Two or three large objects such as vases or baskets
- A few medium pieces such as frames and boxes
- A handful of small objects
- A small tray
- A clear table or floor space for sorting
A bookcase that looks calm and collected rarely comes from a good eye alone. It comes from working in a sensible order: the big decisions first, the small ones last. If you have been wondering how to style a bookshelf without moving the same vase around for an hour, the order below is the answer.
The method has seven steps and suits a freshly emptied unit as well as one that is already full. Clear some floor or a table nearby before you start, because everything is coming off the shelves.
The proportion to keep in mind
Before you lift anything, picture each shelf as three ingredients: books, objects and empty space. A common starting point is roughly two-thirds books and about a third objects, with part of every shelf left open. Treat that as a loose guide, never a rule. A household with a great many books will lean further toward books, and a display shelf in a dining room may hold almost none.
What matters is that all three ingredients appear. Shelves with only books look like storage, shelves with only objects look like a shop display, and shelves with no open space look tired however good the pieces are.
Step 1: Empty the shelves completely
Take everything off, including the things you are sure will go straight back. A bare bookcase lets you see its real shape: how many shelves, how tall each opening is, which shelf sits at eye level. Dust it while it is empty.
Starting from nothing also breaks old habits. If one shelf stays untouched, you end up styling around it, and the finished unit never quite agrees with itself.
Step 2: Sort everything into groups
Lay it all out where you can see it, then sort. Useful piles are:
- Books, split into tall, medium and small, with any large art or photography books kept apart.
- Large objects: the tall vase, the big bowl, the basket, the largest frame.
- Medium objects: smaller frames, jugs, boxes, a plant in its pot.
- Small objects: anything that would fit in your hand.
Sorting shows you what you really have. Most people discover too many small things and too few large ones, which explains why a shelf can look cluttered and empty at once. Set aside anything you no longer like; it does not have to return.
Step 3: Put the books back first
Books are the bulk of the arrangement, so they set the structure. Give each shelf one or two groups of them and mix the two basic forms: upright rows and flat stacks. A row on the left of one shelf and a stack on the right of the next already looks arranged before a single object appears.
Do not fill any shelf from side to side. Stop a row early and you have a ready-made place for an object later. The full detail on rows, stacks and sorting is in the guide to arranging books on a shelf.

Step 4: Place the largest objects in a zigzag
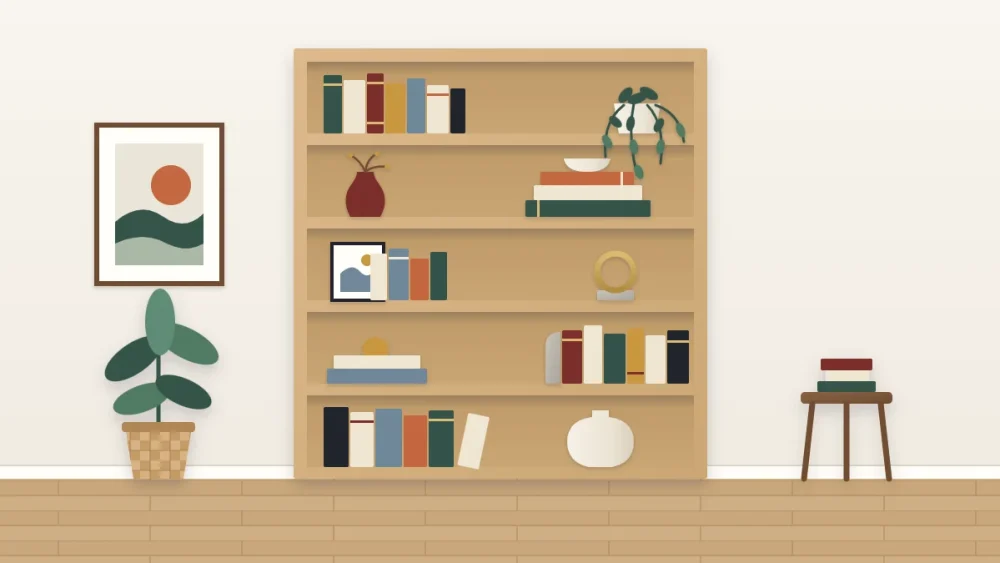
Now take the large pile and give each piece a home, one to a shelf at most. Work down the unit and switch sides as you go: top shelf on the left, next shelf on the right, then back to the left. That zigzag stops all the heavy-looking pieces from gathering on one side.
Large objects go in before medium and small ones because they are the hardest to fit and the first things the eye lands on. If the unit still looks lopsided afterwards, the article on visual balance and the zigzag method explains how to diagnose it.
Step 5: Add the medium pieces
Medium objects fill the gaps the books and large pieces left behind. Put them where a shelf looks thin: beside a short row, on top of a flat stack, or leaning at the back behind a few low books. Keep them in the same family as what is already there, repeating a color or a material from another shelf so the unit reads as one arrangement.
This is also the moment to think about depth. A frame at the back with a jug slightly in front of it does more than the same two things side by side, and layering a shelf from back to front covers that technique properly.
Step 6: Finish with the smallest things
Small objects come last and in small numbers. Give each one a base so it does not float: on a stack of books, in a shallow tray, or next to a larger piece it relates to. Three tiny things scattered along a shelf look like items left behind; the same three gathered on a tray look chosen.
Expect to have small pieces left over. Put them in a drawer and swap them in when you want a change.
Step 7: Step back and take one thing away
Close-up, every shelf looks reasonable. The truth shows from across the room, so finish with a short edit:
- Walk to the far side of the room and look at the whole unit, not one shelf.
- Note which shelf your eye sticks on. It is usually the fullest one.
- Remove one thing from each shelf, starting with that one.
- Look again, and put back only what you truly miss.
Removing is the step people skip, and it changes the result more than any addition. If something still feels off after the edit, compare your shelves against the list of common bookshelf styling mistakes before starting over.
Tip
Live with the result for a few days before changing it. An arrangement that looked sparse on the first evening often looks right once you stop comparing it with the crowded version.
Frequently asked questions
Should books or decor go on the shelves first?
Books go first. They take up the most room and give each shelf its structure, so placing them early shows you exactly where the gaps are. Objects then fill those gaps from largest to smallest. Starting with decor usually means squeezing books in around it, which looks crowded.
How full should a styled bookshelf be?
A common starting point is roughly two-thirds books and about a third objects, with some of every shelf left open. It is a loose guide, not a rule. If you own many books, lean toward books and simply keep a little open space at the end of a row or above a stack.
Do I really need to empty the whole bookcase?
It helps a great deal. An empty unit shows you the height of each opening and lets you plan the shelves together instead of one at a time. If emptying everything is not practical, clear at least two or three neighboring shelves so you can style them as a group.